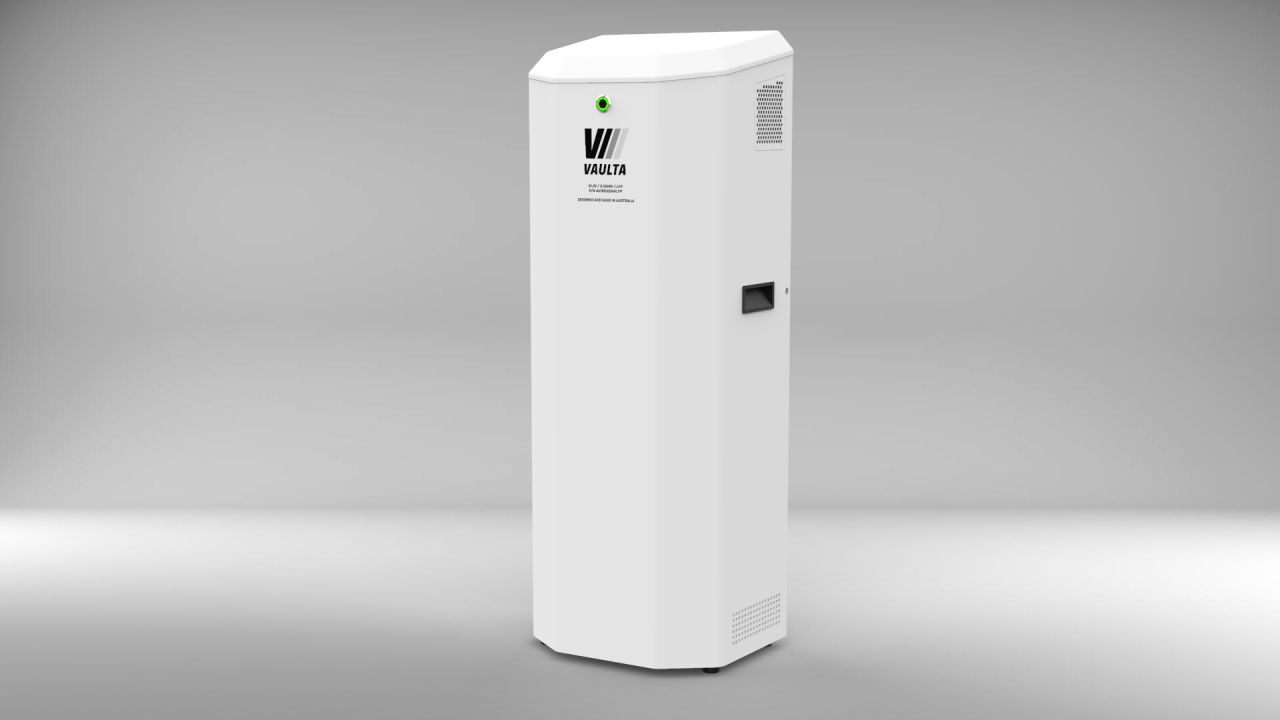
What it took as a Design Engineer to create Vaulta's first residential battery

It started like all design projects, with a concept, and a set of design requirements. I reviewed the requirements with Dominic and other team members to see exactly what was required, and fill in any missing gaps, thinking about the user experience of installing the battery into homes, maintenance requirements and upgrades and so on.
I was given a concept model that had been created previously, and my role was to develop it further and ready it for manufacture. I simplified it as much as possible to reduce part count - removing extra components and complexity that added little value towards meeting the functional requirements of the battery and added to the BOM cost to manufacture.
I also redesigned the overall structure to make it manufacturable using available methods; primarily sheet metal bending with a CNC press brake. Internally there is a structural frame that forms the battery pack subassembly and holds the weight of all the cells, and the front enclosure goes on last and is easy to remove. The lid is a separate part of the front enclosure assembly, mechanically fastened to the sheet metal front part, to stay within the bounds of the manufacturing processes.
Finally, to get to a customer ready product would be impossible without prototyping and validation. We went through a series of prototype builds, and at each new build, assessed how well the design specification met all the requirements, updating, improving and tweaking the design each time. Key leanings were things like ease of assembly/disassembly, ease of installation, internal wire routing and access to cells, structural integrity and performance.
Overall I can say I am very pleased with how it turned out and I hope that customers will be too.
Three key takeaways for your project
1. Set yourself up for success by gathering the right product requirements from the start.
It can be tempting to want to jump to a solution right away, only to realise later that something important was missing when testing the final design on users. Thankfully there are tools that we, as designers, can use to help uncover some of the less obvious requirements. Examples are 'Use Case Diagrams', 'Mind Mapping', or building a 'Stakeholder Influence Map'.
2. Consider manufacturing as early as possible.
An experienced designer will learn to do this instinctively and will use this knowledge to guide the design from the start. Leaving it too late could cost you time, cause manufacturing headaches (and very expensive tooling & reliability issues), or worse yet, require a complete re-design.
3. Build prototypes.
Prototyping can be done at various stages of a project, and in various levels of fidelity, and for all manner of reasons. With every prototype you will find something that can be improved, in a way that is only possible by having a physical representation of the design to interact with and test.
I will expand on these key product design principles in upcoming blog articles as there is far, far more to unpack.
Stay tuned!
Discover more from Vaulta:
From Vaulta.com.au: 'Vaulta’s 48V 5.12kWh is our first dedicated small scale residential battery. They can be duplicated to increase capacity and work with most 48V inverters. All batteries are designed and assembled in Brisbane, Australia. They are white label ready, and because they can be easily disassembled in the field, the cells can be replaced, recycled and re used. That’s the value of Vaulta Inside.'
You can discover the product and enquire Here
Need help with a project?
Contact Ross directly by filling out a form now Contact Us